- Team Lead: Udit Jain
- Member 1: Ankush Kumar
- Member 2: Ankur
In the fast-paced world of academia, students often struggle with organizing and retrieving study materials effectively.
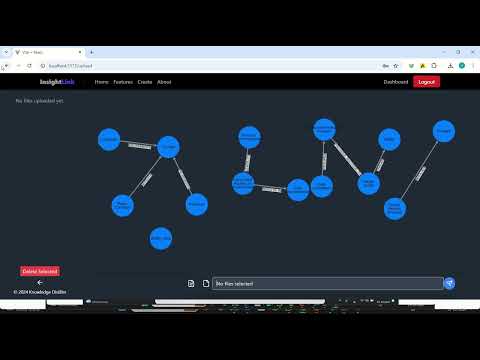
Develop an application that allows users to load their study notes—whether text, images, or audio—and automatically generates a personal knowledge graph/highlight. This graph will help students quickly find and connect key concepts, making study sessions more efficient and tailored to their learning style. The app must support various input types, including text documents, handwritten notes, images, and audio recordings, and effectively parse these formats to extract meaningful information.
- Vite
- React
- Python
- Flask
- Poetry
- OpenAI Python SDK
- Python
- Poetry
- OpenAI API Key
- Firebase Project Credentials
- Git
git clone https://github.com/your-username/knowledge-distiller-app.git
cd knowledge-distiller-appcd code/frontend
npm installcd code
# Install dependencies using Poetry
poetry install
# Activate virtual environment
poetry shellGROQ_API_KEY=groq_api_key
LANGCHAIN_TRACING_V2=true
LANGCHAIN_ENDPOINT=https://api.smith.langchain.com
LANGCHAIN_API_KEY=langchain_api_key
LANGCHAIN_PROJECT=langchain_project_name
OPENAI_API_KEY=openai_api_key
FIREBASE_BUCKET_NAME=firebase_bucket_name
- Go to OpenAI API Platform
- Sign up or log in to your account
- Navigate to API Keys section
- Create a new API key
- Copy the key and add it to your backend
.envfile asOPENAI_API_KEY
- Go to Firebase Console
- Create a new project or select existing one
- Enable Authentication and select desired providers (Email/Password, Google, etc.)
- Go to Project Settings
- Scroll down to "Your apps" section
- Click on Web icon (</>)
- Register app and get configuration
- Copy the file in the
/codedirectory// Your firebase configuration will look like this const firebaseConfig = { apiKey: "xxx", authDomain: "xxx", projectId: "xxx", storageBucket: "xxx", messagingSenderId: "xxx", appId: "xxx", };
npm run devThe frontend will be available at http://localhost:5173
python app.pyThe backend API will be available at http://localhost:5000